Setup
Step 1: Download latest build of FUComplete
- Download the latest patch from here. You only need to download the
FUComplete_*.zipfile where*is the version number. - Once downloaded, extract the zip to a folder. Keep note of where this folder is for the next steps.
Step 2: Obtaining the ISO
Requirements:
- A PSP with Custom Firmware
- At least a 1GB Memory Stick
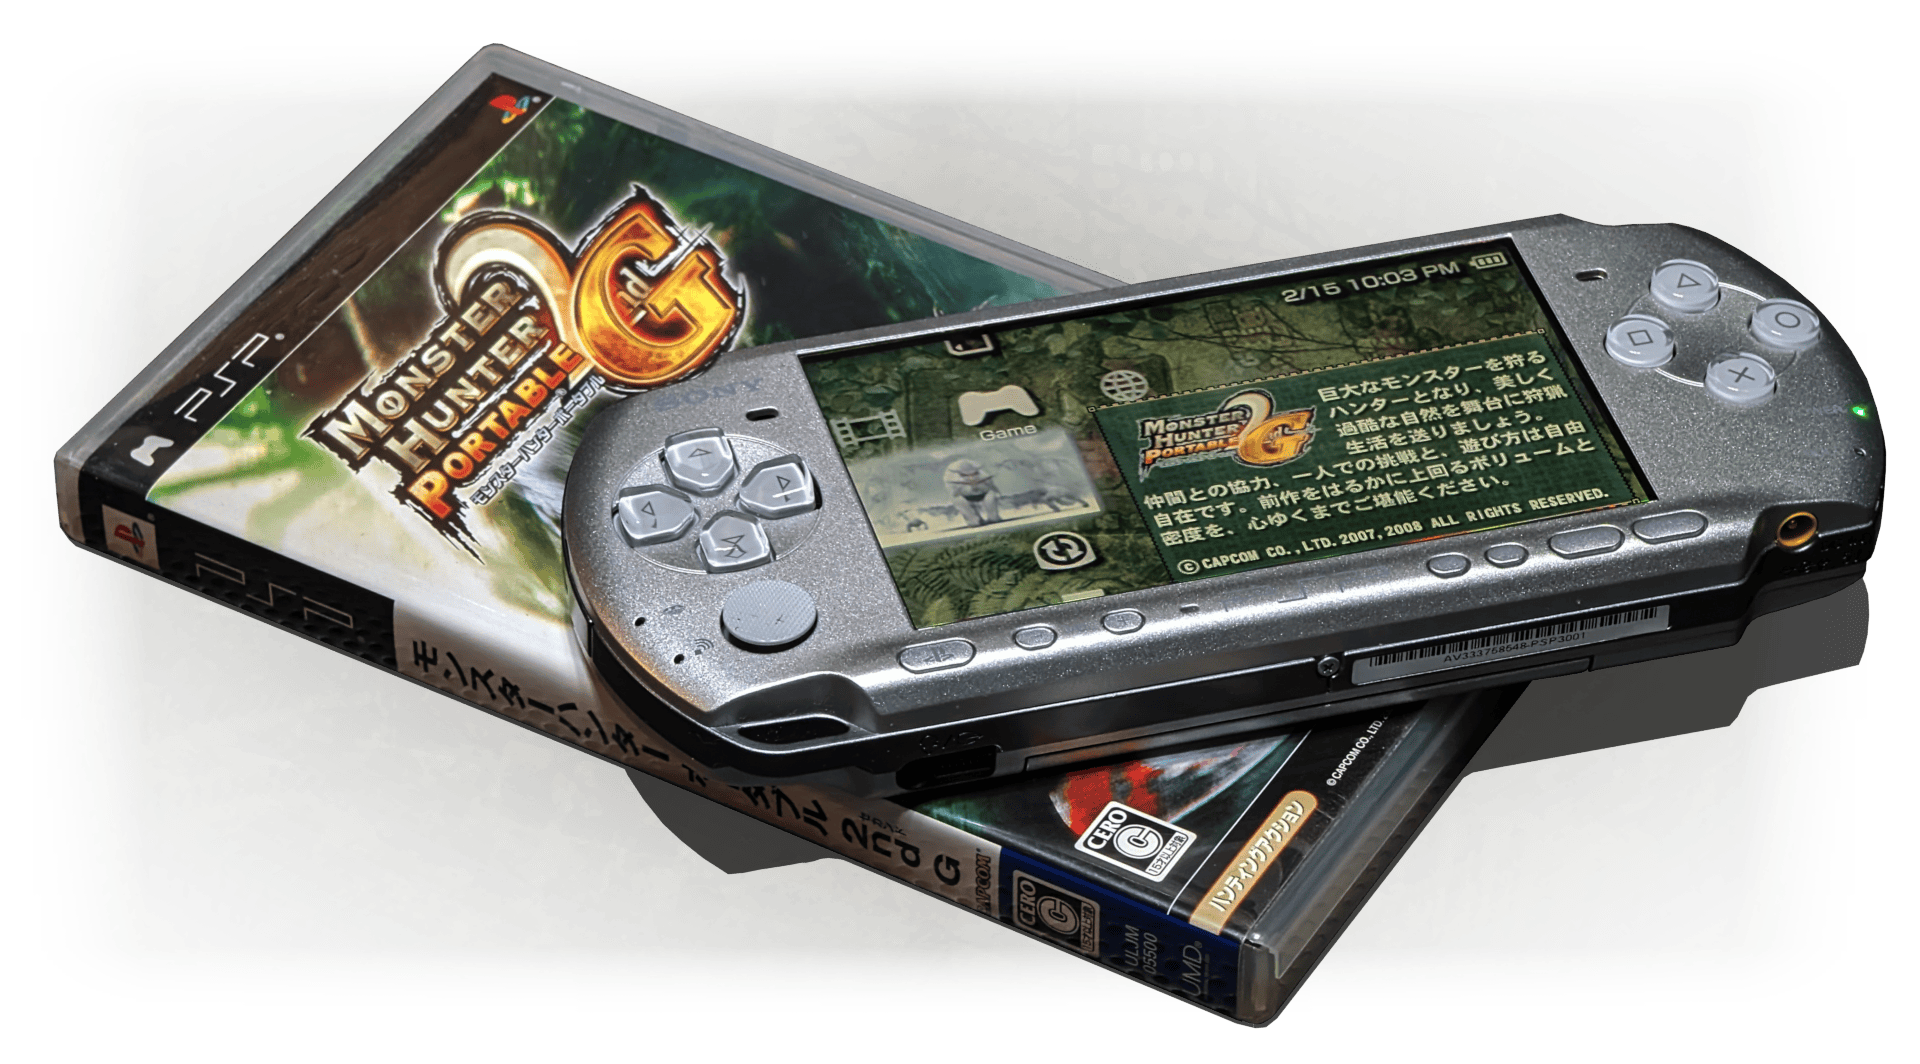
- Monster Hunter Portable 2nd G
- A USB cable to transfer
- PSP Filer v6.6 (Download)
Copy PSP Filer to PSP
- Extract PSP Filer zip to a folder and open the
release/GAMEfolder and copy theFilerfolder. - Connect your PSP to the computer using the USB cable.
- Open your memory stick, and paste the
Filerfolder toPSP/GAME. - Disconnect your PSP from the computer.
Dumping UMD (PSP Filer)
- Launch
PSP Fileron your PSP. - Once in
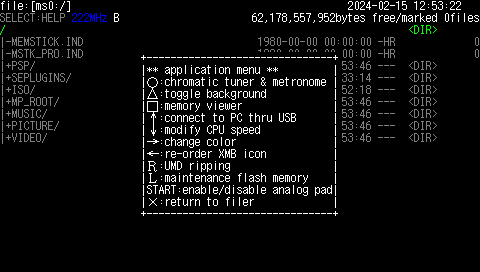
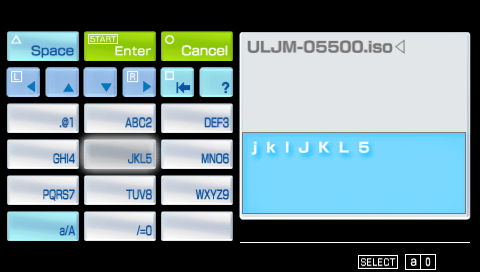
PSP Filer, Press the triangle button to open a menu, then press right trigger button to startUMD ripping. - It will pull up a keyboard with the name
ULJM-05500.isoin the text field. If you wish to rename it do so now, otherwise pressStartto start dumping. - Once you see the message
ripping completedyou can press X to resume and exit PSP Filer.
 |  |
|---|---|
Open menu with Triangleand press R Trigger. | Set ISO name and pressStart to begin dumping. |
 | 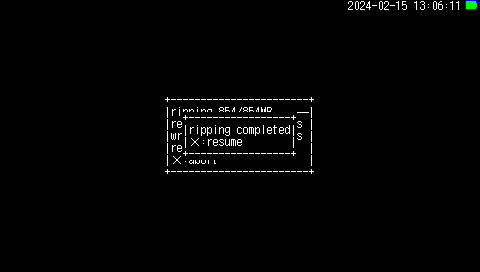 |
| Let it finish dumping… | Finished dumping. |
Copy ISO to PC
- Connect your PSP to the computer using the USB cable.
- Open your memory stick, go to
ISOfolder and transfer your dumped ISO to your computer. - Disconnect the PSP from the computer.
After copying the ISO to your computer, you can check to make sure it dumped properly by making sure it matches this md5 checksum: 1f76ee9ccbd6d39158f06e6e5354a5bd
Step 3: Patching the ISO
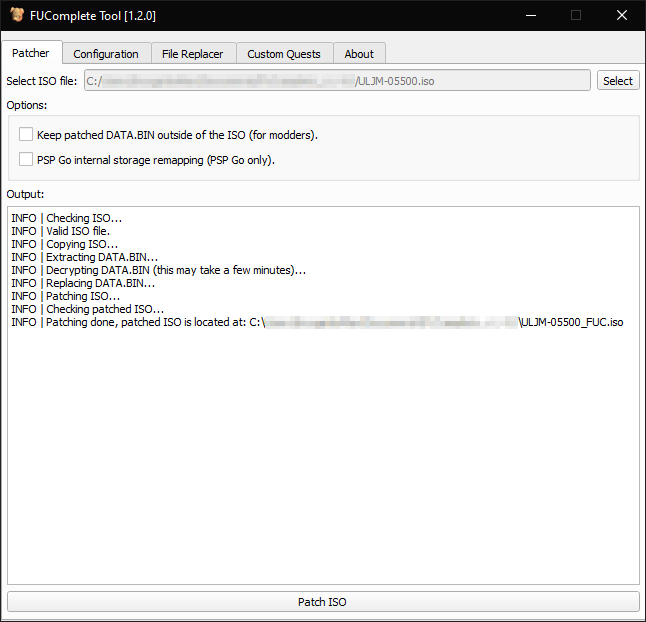
- Go to the folder that you extracted in Step 1 and launch
FUCTool.exe. It should open up on thePatchertab. -
Press the
Selectbutton and select the ISO you transfered to your computer from Step 2. You should see the following:INFO | Checking ISO... INFO | Valid ISO file.Your ISO is ready for patching.
If you see this when you select your ISO:
INFO | Checking ISO...
ERROR | Invalid ISO, your dump should match one of the following md5 hashes:
ERROR | UMD: 1f76ee9ccbd6d39158f06e6e5354a5bd
ERROR | PSN: cc39d070b2d2c44c9ac8187e00b75dc4
Please go back to Step 2 and redump your UMD and validate that the ISO matches the UMD hash or if you dumped your PSN copy to ISO make sure it matches the PSN hash.
- There are 2 checkboxes that can be ticked before applying the patch:
Keep patched DATA.BIN outside of the ISO (for modders).- Tick this option if you plan to edit files or develop mods.
PSP Go internal storage remapping (PSP Go only).- Tick this option ONLY if you plan to install the ISO onto PSP Go’s internal memory.
DO NOT enable this if you plan to install the game anywhere else.
- Tick this option ONLY if you plan to install the ISO onto PSP Go’s internal memory.
- Once you have decided, press the
Patch ISObutton to begin patching. Please note that it can take a while. - You will know that patching is done when you see
Patching doneand will say where the ISO is located with_FUCadded at the end of the filename.
Step 4: Start the game!
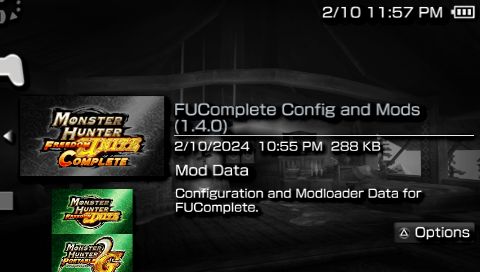
Now with the game patched, you should at least boot the game once to generate all the necessary base mod files and config in SAVEDATA.
Afterwards, you can start the process of adjusting your config, make use of file replacer to load additional mods and injecting custom quests to play.
